Automating Expense Tracking with n8n’s OCR and QuickBooks Integration

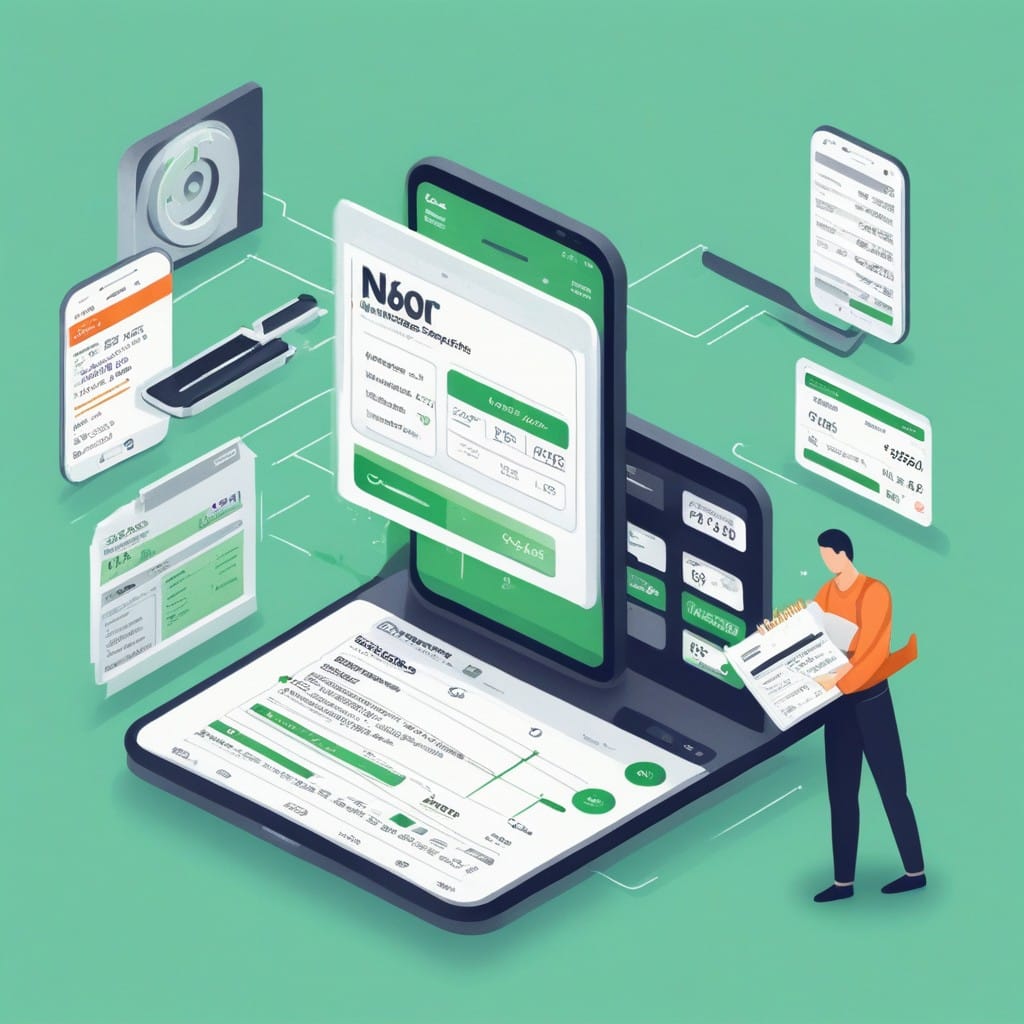
Managing business expenses manually is time-consuming and prone to errors. From sorting through receipts to manually entering data into accounting software, the process can eat into valuable time better spent on strategic tasks. Fortunately, automation tools like n8n can streamline this workflow by combining Optical Character Recognition (OCR) with QuickBooks integration. In this post, we’ll explore how to automate expense tracking using n8n, reducing manual effort and improving accuracy.
Why Automate Expense Tracking?
Manual expense tracking has several drawbacks:
- Human errors: Misplaced receipts or typos can lead to incorrect financial records.
- Time waste: Employees spend hours logging expenses instead of focusing on core tasks.
- Delayed reporting: Manual processes slow down financial reporting and reconciliation.
Automation solves these issues by:
- Extracting data from receipts instantly using OCR.
- Syncing expenses directly with QuickBooks for real-time bookkeeping.
- Reducing manual intervention and improving compliance.
How n8n’s OCR and QuickBooks Integration Works
n8n is a flexible workflow automation tool that connects apps and services without coding. Here’s how you can use it to automate expense tracking:
Step 1: Capture Receipts with OCR
When an employee submits a receipt (via email, upload, or mobile app), n8n can use an OCR API (like Google Cloud Vision or Tesseract) to extract key details:
- Vendor name
- Date
- Amount
- Category
This eliminates manual data entry and ensures accuracy.
Step 2: Validate and Format Data
Once the OCR extracts the text, n8n can:
- Validate amounts and dates.
- Categorize expenses (e.g., travel, office supplies).
- Flag discrepancies for review.
Step 3: Sync with QuickBooks
n8n connects to QuickBooks using its API to:
- Create new expense entries.
- Match transactions to existing accounts.
- Generate reports automatically.
This keeps your books up-to-date without manual imports.
Setting Up the Workflow in n8n
Here’s a step-by-step guide to building this automation:
- Trigger: Set up a trigger for new receipts (e.g., email attachment, Google Drive upload).
- OCR Processing: Use an HTTP request node to send the receipt image to an OCR API.
- Data Parsing: Extract relevant fields (date, amount, vendor) using a Function or Set node.
- QuickBooks Integration: Use the QuickBooks node to create an expense record with the parsed data.
- Error Handling: Add conditional logic to flag mismatches or failed syncs.
Example Workflow:
- Trigger: New email with receipt attachment.
- OCR Node: Send image to Google Cloud Vision API.
- Parser Node: Extract vendor, amount, and date.
- QuickBooks Node: Post expense to the correct account.
- Notification Node: Alert the finance team if an entry fails.
Benefits of This Automation
- Time Savings: No more manual data entry—expenses sync in seconds.
- Accuracy: OCR reduces human errors in transcription.
- Real-Time Updates: QuickBooks stays current without delays.
- Scalability: Handles high volumes of receipts effortlessly.
Final Thoughts
Automating expense tracking with n8n, OCR, and QuickBooks is a game-changer for businesses. By eliminating manual steps, you improve efficiency, reduce errors, and free up time for more impactful work. Whether you’re a small business or a growing enterprise, this workflow can be customized to fit your needs.
Ready to streamline your expense management? Try setting up this automation in n8n today!
Would you like a more detailed tutorial or a downloadable workflow template? Let us know in the comments!


