Automating Geofencing Workflows in n8n for Real-Time Location Tracking
Geofencing is a powerful location-based technology that allows businesses to trigger automated actions when a device enters or exits a predefined geographic area. Whether you're tracking deliveries, monitoring field teams, or engaging customers with location-based promotions, automating geofencing workflows can save time and improve efficiency.
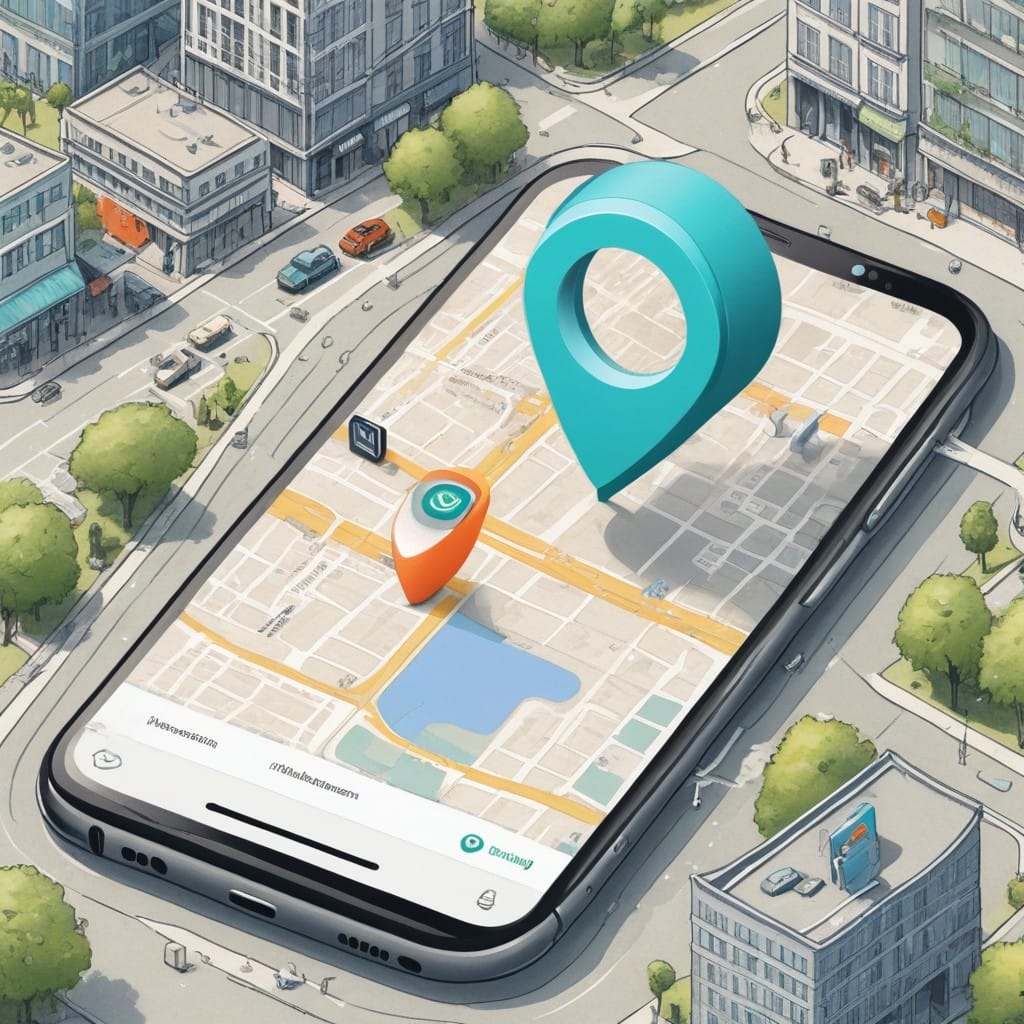
In this guide, we'll explore how to set up real-time location tracking and geofencing automation using n8n, a flexible workflow automation tool. By leveraging n8n’s integrations and logic nodes, you can create dynamic workflows that respond instantly to location changes.
Why Use n8n for Geofencing?
n8n is an open-source workflow automation platform that supports hundreds of integrations, making it ideal for building custom geofencing solutions. Unlike rigid SaaS tools, n8n allows you to:
- Connect multiple data sources (GPS devices, mobile apps, APIs)
- Define custom geofencing logic (entry, exit, dwell time)
- Trigger real-time actions (notifications, database updates, API calls)
- Scale without vendor lock-in (self-hosted or cloud deployment)
Step 1: Setting Up Location Data Sources
To automate geofencing, you first need a reliable way to track device locations. Common options include:
- Mobile apps (e.g., GPS tracking apps with webhook support)
- IoT devices (e.g., GPS trackers sending data via MQTT or HTTP)
- Third-party APIs (e.g., Google Maps, Mapbox, or telematics platforms)
In n8n, you can ingest this data using:
- Webhook nodes (to receive real-time location pings)
- HTTP Request nodes (to poll APIs for updates)
- MQTT nodes (for IoT device integrations)
Example: Receiving GPS Data via Webhook
- Add a Webhook node in n8n and configure it to accept POST requests.
- Set up your tracking device or app to send location updates (latitude, longitude) to this endpoint.
- Test with sample data to ensure proper payload structure.
Step 2: Defining Geofence Boundaries
Next, define the geographic zones (geofences) you want to monitor. These can be:
- Circular zones (radius around a central point)
- Polygonal zones (custom shapes for irregular areas)
You can store geofence data in:
- A database (PostgreSQL, MySQL)
- A spreadsheet or JSON file
- Hardcoded in the workflow (for simple use cases)
Example: Checking if a Location is Inside a Geofence
Use n8n’s Function node to implement geofence logic. Here’s a JavaScript snippet to check if coordinates fall within a circular zone:
```javascript
const lat = {{$node["Webhook"].json["latitude"]}};
const lng = {{$node["Webhook"].json["longitude"]}};
const fenceCenter = { lat: 40.7128, lng: -74.0060 }; // Example: NYC
const radiusKm = 0.5; // 500-meter radius
function isInsideFence(point, center, km) {
const ky = 40000 / 360;
const kx = Math.cos(Math.PI * center.lat / 180.0) * ky;
const dx = Math.abs(center.lng - point.lng) * kx;
const dy = Math.abs(center.lat - point.lat) * ky;
return Math.sqrt(dx * dx + dy * dy) <= km;
}
return { isInside: isInsideFence({ lat, lng }, fenceCenter, radiusKm) };
```
Step 3: Triggering Actions Based on Geofence Events
Once a geofence event (entry/exit) is detected, automate responses like:
- Sending alerts (Slack, SMS, email)
- Updating CRM records (HubSpot, Salesforce)
- Logging data (Google Sheets, Airtable)
Example: Sending a Slack Alert on Geofence Entry
- Add an IF node to check
isInsidefrom the Function node. - Route "true" outcomes to a Slack node.
- Customize the message (e.g., "Device entered NYC zone at {{timestamp}}").
Advanced Enhancements
- Dwell time tracking: Use Interval nodes to monitor how long a device stays in a zone.
- Multi-zone workflows: Compare locations against multiple geofences using Switch nodes.
- Historical analysis: Store location logs in a database for trend reporting.
Conclusion
Automating geofencing in n8n eliminates manual monitoring and enables real-time location-based actions. By combining webhooks, geofence logic, and multi-app integrations, you can build tailored solutions for logistics, marketing, or operations.
Next Steps:
- Explore n8n’s community workflows for geofencing templates.
- Experiment with third-party geocoding APIs for higher accuracy.
Have you built a geofencing workflow in n8n? Share your use case in the comments!