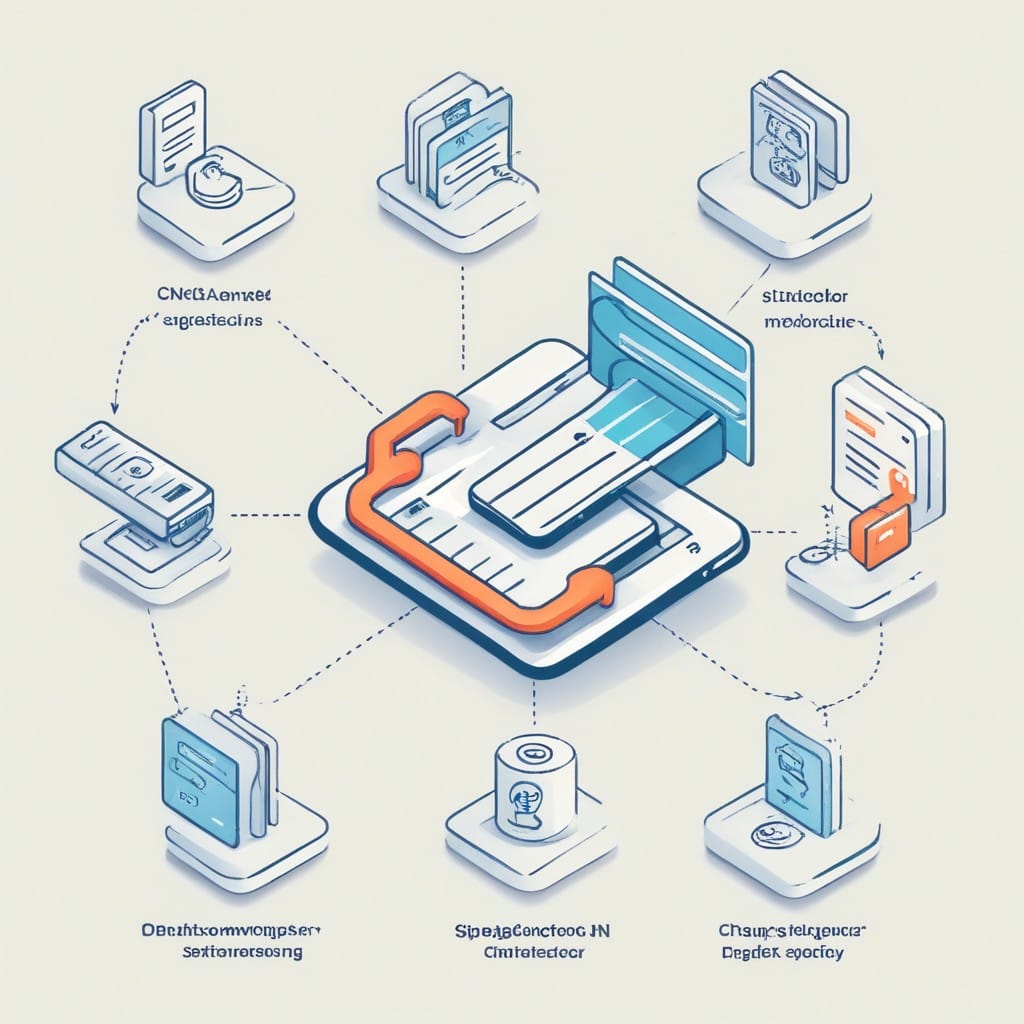
Automating Stripe Chargeback Handling with n8n Workflows

Chargebacks are an inevitable part of running an online business, especially if you use Stripe for payments. While they protect customers from fraud, they can be time-consuming and costly for merchants. Manually handling chargebacks involves tracking disputes, gathering evidence, and responding within tight deadlines—tasks that are prone to human error.
Fortunately, you can automate Stripe chargeback handling using n8n, a powerful workflow automation tool. In this post, we’ll explore how to set up an n8n workflow to streamline chargeback management, reduce manual effort, and improve your dispute resolution success rate.
Why Automate Chargeback Handling?
Chargebacks can hurt your business in several ways:
- Revenue loss: You lose the transaction amount plus additional fees.
- Operational overhead: Manually managing disputes takes time away from growth-focused tasks.
- Reputation risk: High chargeback ratios can lead to penalties or account termination.
Automation helps by:
- Detecting disputes instantly: Get real-time alerts when a chargeback is filed.
- Gathering evidence automatically: Pull order details, customer communications, and delivery proof.
- Responding faster: Submit responses before deadlines to maximize win rates.
How to Automate Stripe Chargebacks with n8n
n8n lets you connect Stripe with other apps (like your CRM, email, or database) to create custom workflows. Here’s a step-by-step guide to building a chargeback automation workflow:
Step 1: Set Up a Stripe Trigger
- In n8n, add a Stripe Trigger node.
- Configure it to listen for
charge.dispute.createdevents (this fires when a chargeback is initiated). - Authenticate with your Stripe API key.
Step 2: Fetch Relevant Order Data
Use a Function or HTTP Request node to pull additional details about the disputed transaction, such as:
- Customer purchase history
- Shipping/tracking information
- IP addresses or fraud indicators
For example, if you use Shopify, you can fetch order details via its API.
Step 3: Compile Evidence Automatically
Add nodes to gather evidence, such as:
- Email receipts (via Gmail or Outlook)
- Delivery confirmations (from shipping APIs like ShipStation)
- Customer support logs (from tools like Zendesk or Freshdesk)
Step 4: Generate a Response
Use a Template node to format your evidence into a structured response. Include:
- A rebuttal letter
- Transaction proof (screenshots, PDF invoices)
- Any relevant customer communications
Step 5: Submit the Response to Stripe
Add a Stripe API node to automatically submit the evidence to Stripe’s dispute portal. Ensure it includes:
- The dispute ID
- Compiled evidence
- A clear explanation of why the chargeback is invalid
Step 6: Notify Your Team
Send alerts via Slack, email, or your internal dashboard to keep stakeholders informed.
Advanced Automation Tips
- Retry logic: If Stripe’s API fails, add error handling to retry submissions.
- AI review: Use OpenAI’s API to draft persuasive rebuttals.
- Analytics: Log disputes in a spreadsheet or BI tool to track trends.
Benefits of Automation
- Faster responses: Beat Stripe’s deadlines (often 7–14 days).
- Higher win rates: Submit comprehensive evidence consistently.
- Reduced stress: Eliminate manual tracking and last-minute rushes.
Final Thoughts
Automating Stripe chargeback handling with n8n saves time, improves accuracy, and protects your revenue. By setting up a workflow once, you can handle disputes at scale—freeing your team to focus on growing your business.
Ready to try it? Install n8n, connect your Stripe account, and start building your workflow today!
(Word count: 600)


